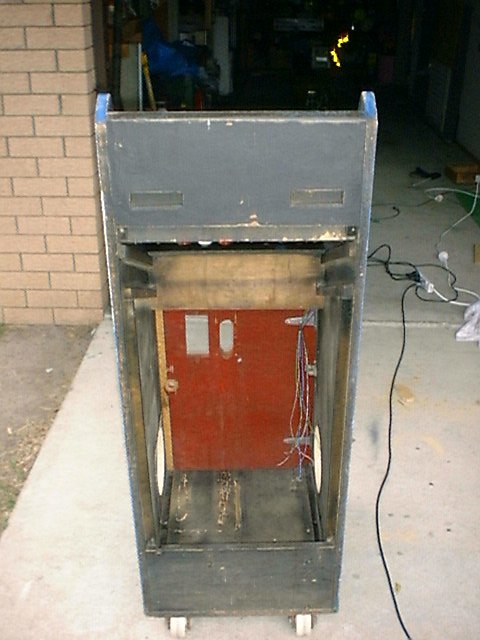
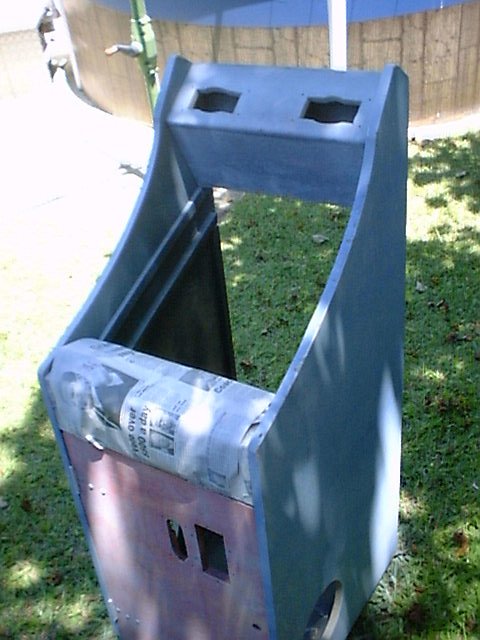
 Another outside shot... to.. ummm, let you see the perspective..... Another outside shot... to.. ummm, let you see the perspective.....(note the ever-so-important power cord running to the jigsaw at my feet) |
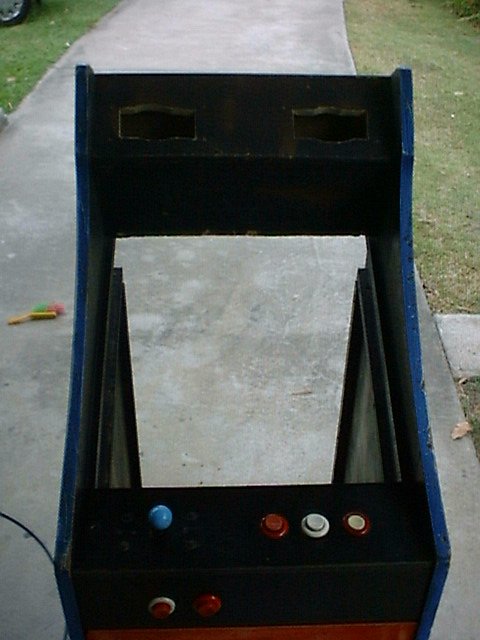 Bad shot #1 Bad shot #1If you look closely, you can see the two square holes I cut in the top section for the tweeters. |
|
Step 5: You Strip, I'll Paint. Well, since it was covered in graffiti and a pretty poor paint job to start with, it was pretty obvious I was going to have to repaint it.
Tips for this: *
No, the cute girl was at the Home hardware store, but I didn't realise this until I'd bought my first supplies from True Value. All future supplies came from the blonde girl :) | |
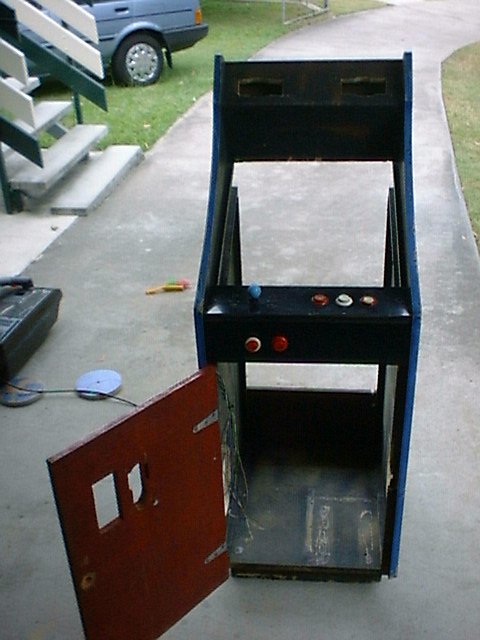 Yes, the door still works with the new holes cut in the side. Yes, the door still works with the new holes cut in the side. |
 I've now spent many hours sanding the wood, filling gaps with some 10 year old pollyfilla, resanding, refilling, resanding, until the balance of Sanding Boredom vs. Final Quality was pushed in Sanding Boredom's favour I've now spent many hours sanding the wood, filling gaps with some 10 year old pollyfilla, resanding, refilling, resanding, until the balance of Sanding Boredom vs. Final Quality was pushed in Sanding Boredom's favour |
 I've covered the control panel area with newspaper to prevent overspray. I've covered the control panel area with newspaper to prevent overspray. |
 That previous shot had a very boring caption. As you can probably tell, covering the panel with newspaper, and using my l33t 5k1lz with masking tape was much more interesting than typing about it. That previous shot had a very boring caption. As you can probably tell, covering the panel with newspaper, and using my l33t 5k1lz with masking tape was much more interesting than typing about it. |
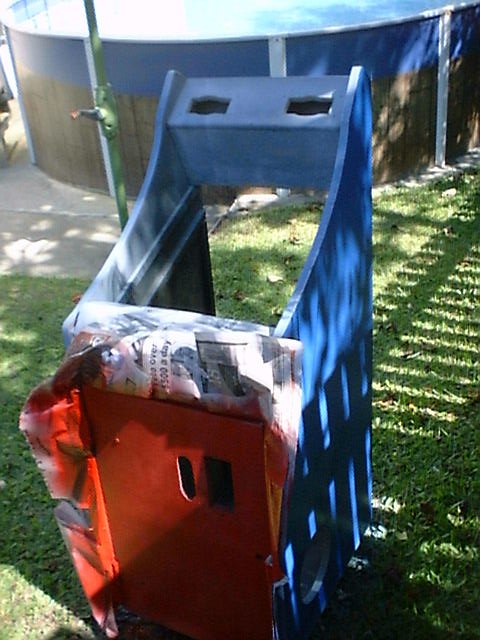 Using more of my masking skills, I've put newspaper around the door section, since I'm painting it red and the sides blue. Using more of my masking skills, I've put newspaper around the door section, since I'm painting it red and the sides blue.The door's actually already had a few coats of red on it at this stage. |
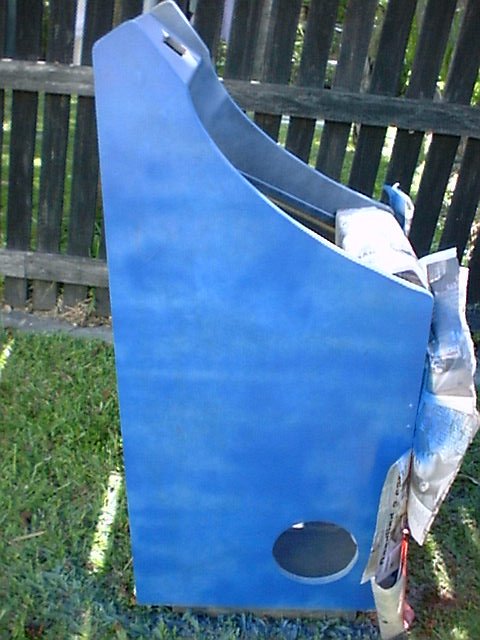 The sides have had some blue coats on them too. The sides have had some blue coats on them too.Over the next 3 or 4 days, I put on coat after coat, and went through 2 cans of blue paint, 1 red, 1 black and 1 primer. |
|
Step 6: Make some music! Once I painted it all and cleaned it up, I put the four speakers, wired them up, powered on the amp and tested them. | |
 This is the audio hardware. This is the audio hardware.I've got the pairs of woofers and tweeters, a 2 x 140W car amp (Picked up a cheap one from Super Cheap Auto for $60), some hi/lo cross-overs from Jaycar and an AT computer power supply to provide +12V. I'll have to change the power supply someday, since it can't provide enough power for the amp. If you've got a 300W AT power supply that you don't need, let me know :) |
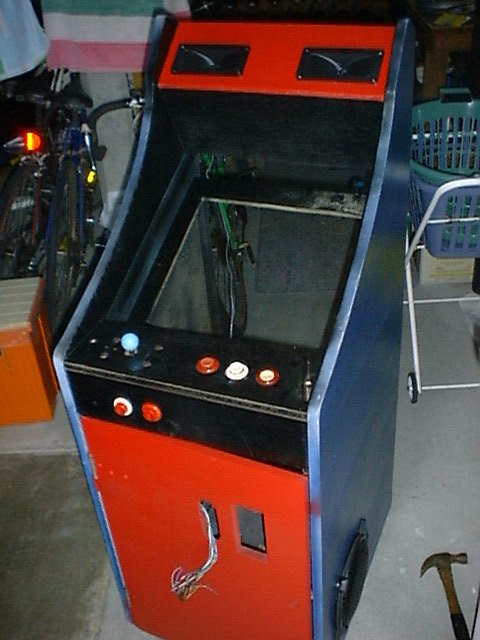
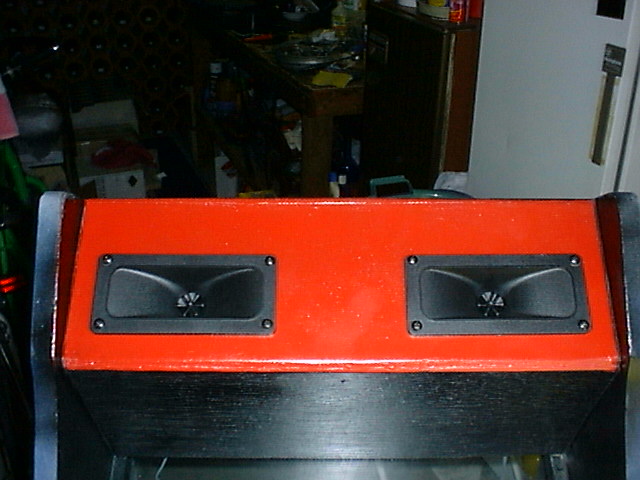 As you can see, the paint job here came up quite nicely, Red on top, black all around the screen. As you can see, the paint job here came up quite nicely, Red on top, black all around the screen.Thanks to my brilliant jigsaw work, the 2 tweeters fit in perfectly. |
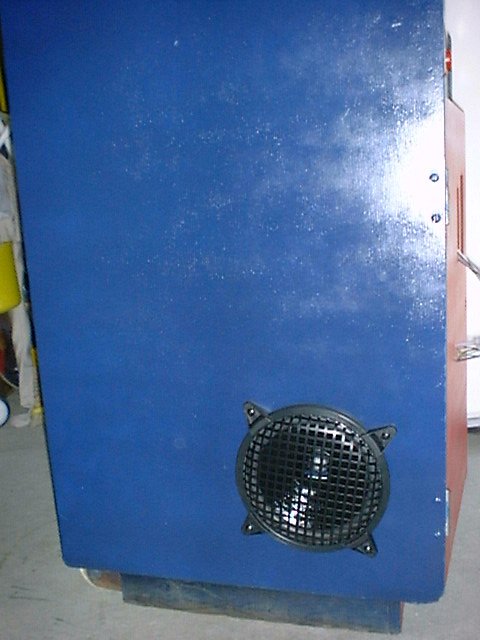 After a bit of filing and drilling, the woofers fit in too, with their nice little protective covers. After a bit of filing and drilling, the woofers fit in too, with their nice little protective covers. |
 Paint: Check! Paint: Check!Speakers: Check! |
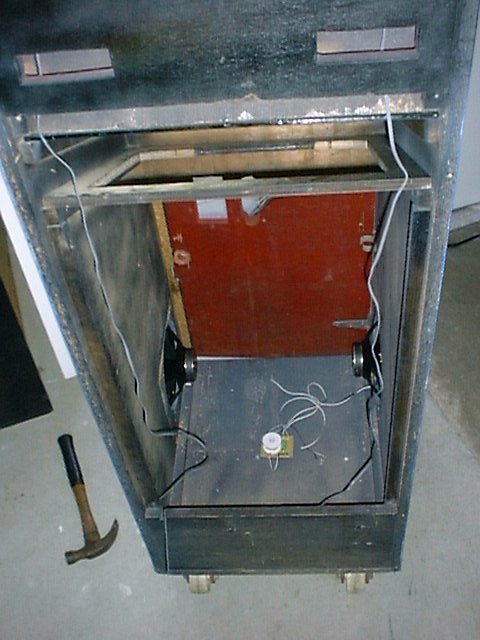 You can see the backs of the woofers (ooooh, how interesting) and the wires hanging down from the tweeters (I'm so excited!) You can see the backs of the woofers (ooooh, how interesting) and the wires hanging down from the tweeters (I'm so excited!) |
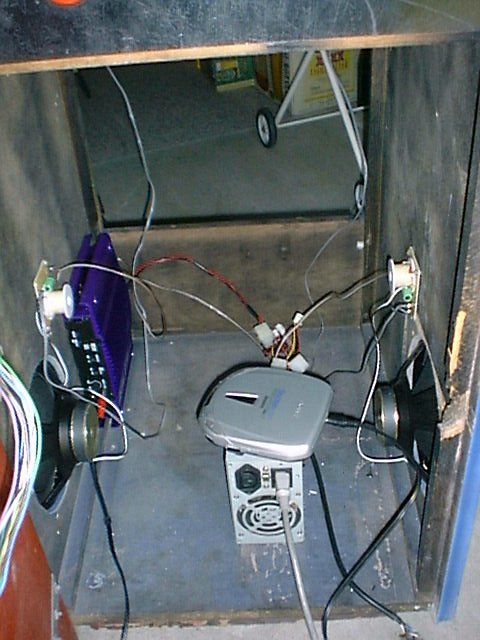 I've mounted the car amp against the rear left wall with a few screws, and also screwed the cross-overs into the wall near the woofers. I've mounted the car amp against the rear left wall with a few screws, and also screwed the cross-overs into the wall near the woofers.This is the first sound test. As you can see, I plugged in my discman, even with the input sensitivity (no, the amp doesn't have a volume control, only Input Gain) on minimum it was obscenely loud. "Sorry Mum, I can't turn it down, It's as soft as it'll go!" |
 I've mounted the power supply in the opposite corner with screws into the wall as well. I've mounted the power supply in the opposite corner with screws into the wall as well. |
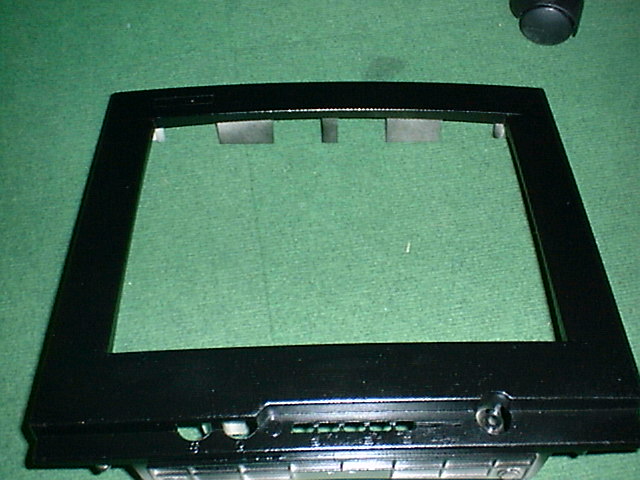 Here is the front face off the monitor, I painted it black at the same time I painted the rest. Here is the front face off the monitor, I painted it black at the same time I painted the rest. |