|
Step 7: Practical uses for a PC Time to mount the monitor and computer permenantly inside the newly restored arcade machine shell. Have to make it pretty sturdy, since the machine's going to be the center attraction at many drunken parties. |  WARNING: HIGH VOLTAGES WARNING: HIGH VOLTAGESThe monitor without it's protective plastic covers. Don't touch the end of the tube, it's bad for the monitor and you :) |
 I've put the newly black front cover back onto the monitor tube, and fitted it into the plywood piece. Nothing actually holds it in, other than gravity and much friction. I've put the newly black front cover back onto the monitor tube, and fitted it into the plywood piece. Nothing actually holds it in, other than gravity and much friction.(Don't tip my arcade machine upside down :) |
 You can see how safely the monitor just hangs in the arcade machine. Good thing I'm an engineer, otherwise I wouldn't have been able to design it this well. (Even better thing I've got so much string and electrical tape lying around :) You can see how safely the monitor just hangs in the arcade machine. Good thing I'm an engineer, otherwise I wouldn't have been able to design it this well. (Even better thing I've got so much string and electrical tape lying around :) |
 You can see how the string supports the PCB. You can see how the string supports the PCB.Down with gravity!! Down with gravity!! |
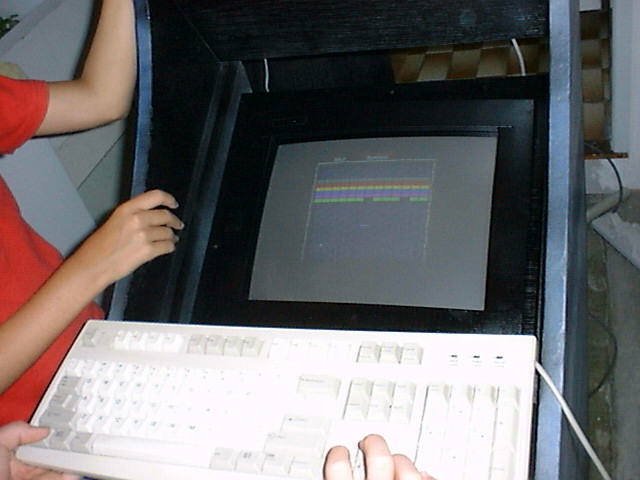 Test Run!With the monitor and sound system in place, I powered it all up with the computer sitting outside at my feet. Test Run!With the monitor and sound system in place, I powered it all up with the computer sitting outside at my feet.The sounds of computer games brought the neighbourhood kids flocking to the keyboard. |
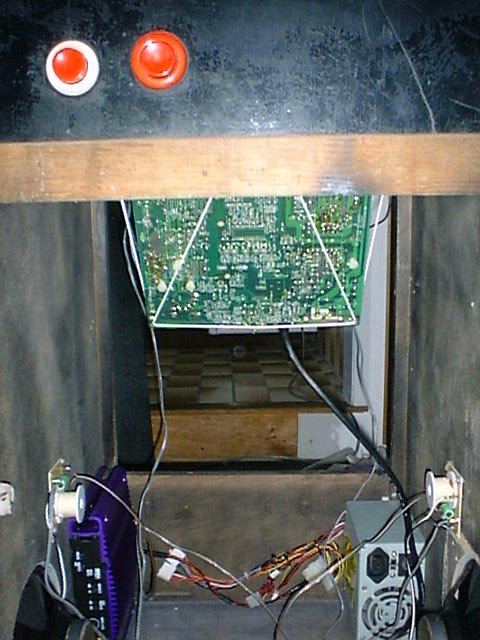
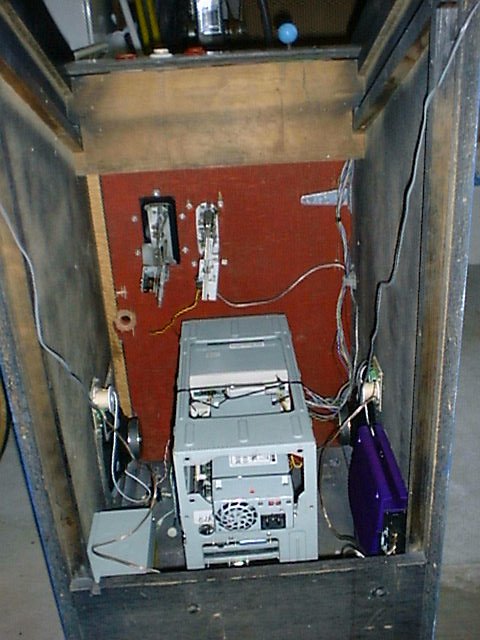 Here is the PC inside the arcade machine. I've screwed it down through holes in the bottom of the case. Should be pretty sturdy. Here is the PC inside the arcade machine. I've screwed it down through holes in the bottom of the case. Should be pretty sturdy. |
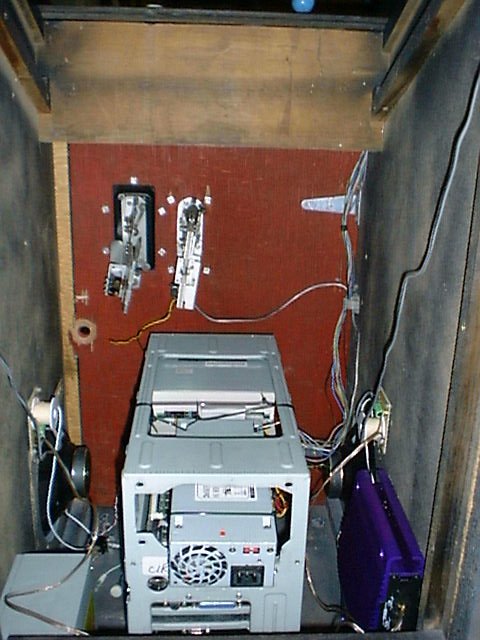 You can see the power supply sticking out the back of the case. This is because I used the AT power supply (matching the case) for the power to the amp. I got an ATX power supply for the computer, which means I can do soft-off and nice power management things. The AT supply also pumped out a bit more power for the amp than the ATX could. You can see the power supply sticking out the back of the case. This is because I used the AT power supply (matching the case) for the power to the amp. I got an ATX power supply for the computer, which means I can do soft-off and nice power management things. The AT supply also pumped out a bit more power for the amp than the ATX could. |
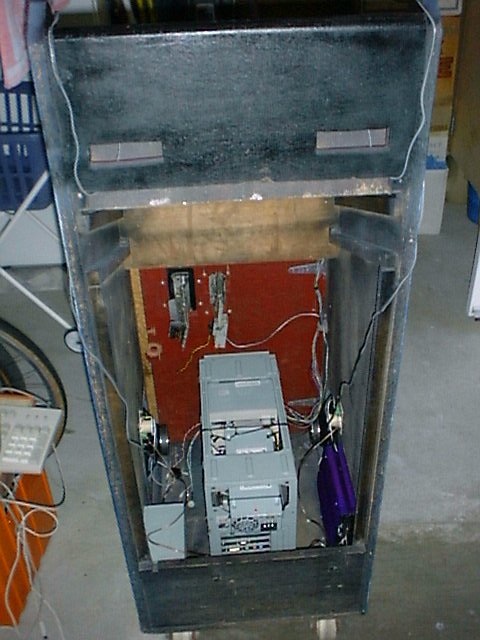 Since the ATX power supply wasn't designed for the AT case, it didn't fit. I managed to put a screw in the bottom, and affix it to the case, and strapped the front in with zip ties. Since the ATX power supply wasn't designed for the AT case, it didn't fit. I managed to put a screw in the bottom, and affix it to the case, and strapped the front in with zip ties.Since the back stuck out so far, a normal 180degree IEC plug (normal computer power lead) wouldn't fit - I couldn't close the back cover of the arcade machine. damn.... |
 I had to get one of these 90 degree ones. They are very hard to find. After looking in numerous computer and electronics stores, I finally found one sitting behind a shelf at Buranda Dick Smiths - They aren't in their catalogue though. I had to get one of these 90 degree ones. They are very hard to find. After looking in numerous computer and electronics stores, I finally found one sitting behind a shelf at Buranda Dick Smiths - They aren't in their catalogue though. |
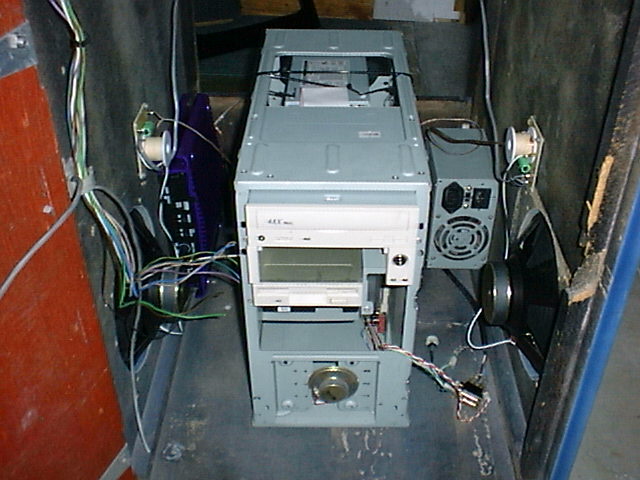 Here it is from the front. You can see the AT power supply over on the right. Here it is from the front. You can see the AT power supply over on the right.Hrrrm, having those dirty great big speaker magnets so close to the computer can't be all that good. Perhaps I'll have to do something about that. |
 Now you see the computer........... Now you see the computer........... |
 Now you don't! Now you don't! |
|
Step 8: Buttons, Switches and Joysticks I had a couple of ideas of how to wire up the arcade controls to the computer. 1) Wire them into a joystick port. 2) Wire them into the keyboard key switches. I eventually decided to wire them into the keyboard, althought it was harder, it meant I could use a normal gamepad/joystick plugged into the gameport for the 2nd player. I also want to put a touchpad up on the control panel, to use as a mouse in Windows, when the machine is in Jukebox mode :) | |
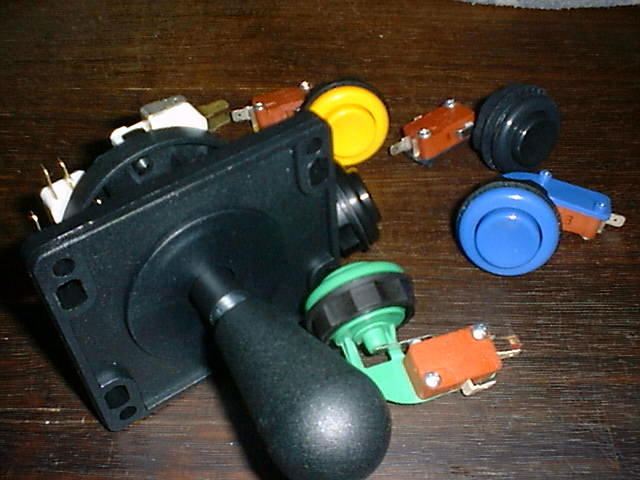 I thought it might be a good idea to replace all the buttons and controls too, since the originals were so old, and a tad loose and unreliable. Here are some new Happ arcade controls I bought off a local pinball repairer - I thought it might be a good idea to replace all the buttons and controls too, since the originals were so old, and a tad loose and unreliable. Here are some new Happ arcade controls I bought off a local pinball repairer - ALL PINBALL The Pinball Specialists Mark Schneider Ph. (07) 3371 4841 Mob. 0438 113 632 |
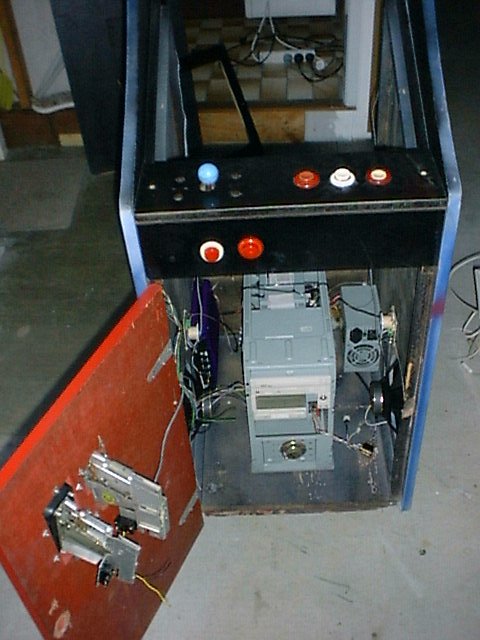
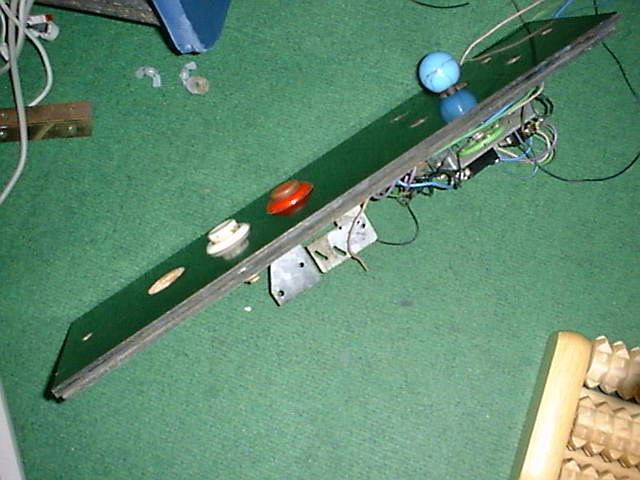 Unfortunately, the new controls won't fit through the old control panel - the panel is too thick :( Unfortunately, the new controls won't fit through the old control panel - the panel is too thick :(So this entire control panel is throw-away. I'll save the microswitches though. |
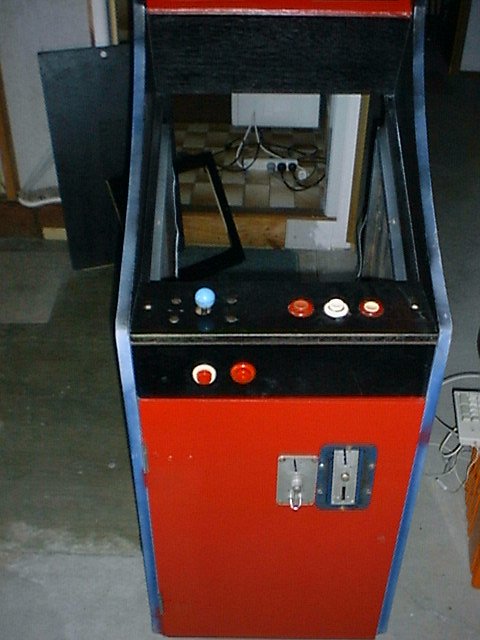
 The new control panel I made, since it's thiner, had to be lifted up and supported around the edge. I used some foam rubber for this, and ran two layers of it around the edges of the well. The new control panel I made, since it's thiner, had to be lifted up and supported around the edge. I used some foam rubber for this, and ran two layers of it around the edges of the well. |
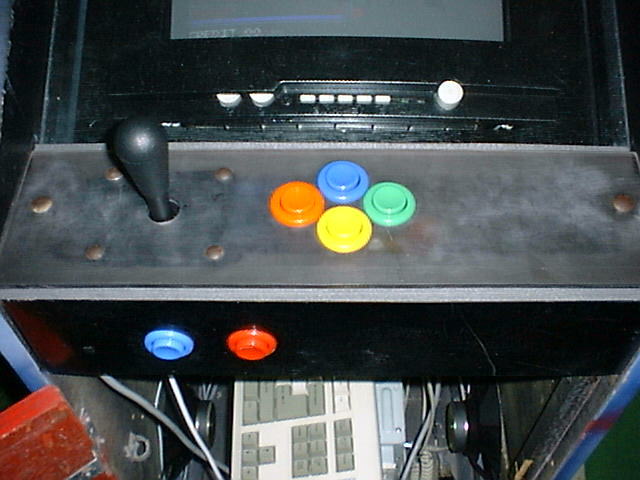 It's made of polycarbonate, we happened to have a sheet of it lying around. It's kinda expensive though, this piece is proabably worth around $20. It's nice and strong though. It should be see-through, but I scratched it too much when I was cutting it. It's made of polycarbonate, we happened to have a sheet of it lying around. It's kinda expensive though, this piece is proabably worth around $20. It's nice and strong though. It should be see-through, but I scratched it too much when I was cutting it.I also left some more space on the right hand side for the touchpad that I'll get eventually... |