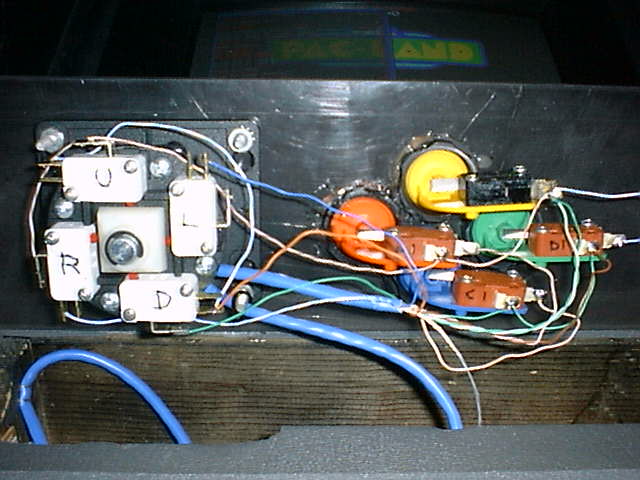
 Here you can see the wonderful wiring job I did on the controls. Many microswitches, many wires. I used some single core CAT 5 network cable from the switches to a small PCB, then a 15 wire cable to run down to the keyboard. Here you can see the wonderful wiring job I did on the controls. Many microswitches, many wires. I used some single core CAT 5 network cable from the switches to a small PCB, then a 15 wire cable to run down to the keyboard. |
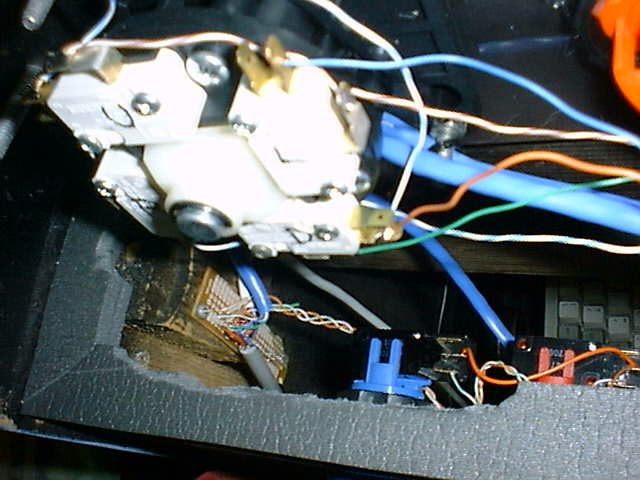 Here is the base of the joystick, down below it to the left, you can just see the PCB screwed into the side wall of the control well. Here is the base of the joystick, down below it to the left, you can just see the PCB screwed into the side wall of the control well. |
|
Step 9: What is the matrix ? Back in the good old days, keyboards had 101 nice little switches in them, all mounted and soldered into a large PCB. Then some people complained this was a waste of space and weight and money etc, so they started making membrane keyboards. These are really nasty for wiring arcade controls into, because you have to trace the tracks on the membrane back to the controller chip, and map the matrix for the particular keys you want. It does have the advantage of only having to run 12 wires for 13 switches though (instead of 2 wires for each switch) | |
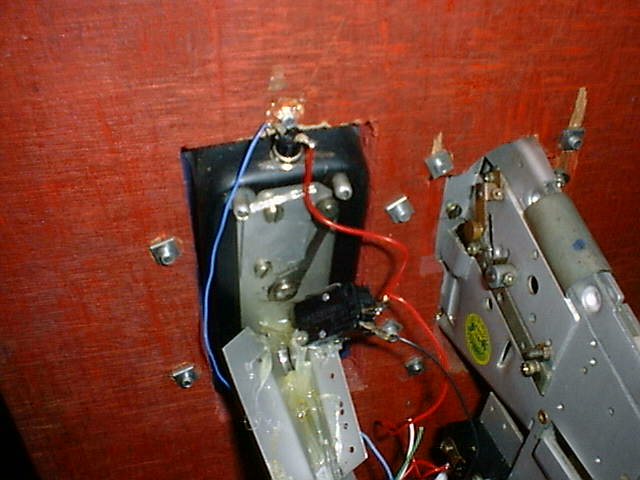
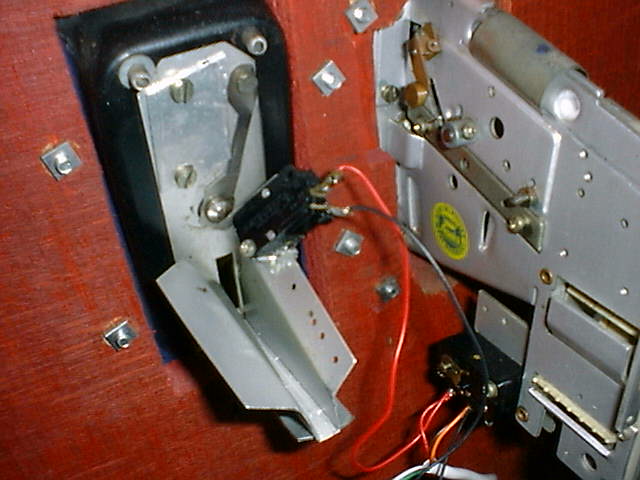 To wire up the coin insert switches, I mounted a microswitch on the back of one of the coin mechansims. The lever then touches the coin return button, so you can insert coins by pressing the 'reject' button. To wire up the coin insert switches, I mounted a microswitch on the back of one of the coin mechansims. The lever then touches the coin return button, so you can insert coins by pressing the 'reject' button.I also wired the coin insert switch to the original microswitch on the other coin mechanism (the one that still worked). So you can add credits either by inserting 20cent pieces, or just pressing the other coin return button. |
 I closed up the top hole of the disabled coin mechanism so you can't put coins in, otherwise they'll cause all sorts of trouble. I closed up the top hole of the disabled coin mechanism so you can't put coins in, otherwise they'll cause all sorts of trouble. |
 I mounted another momentary switch up the top of the coin slots, to wire to the 'reset/exit' function of MAME - the escape key. I mounted another momentary switch up the top of the coin slots, to wire to the 'reset/exit' function of MAME - the escape key. |
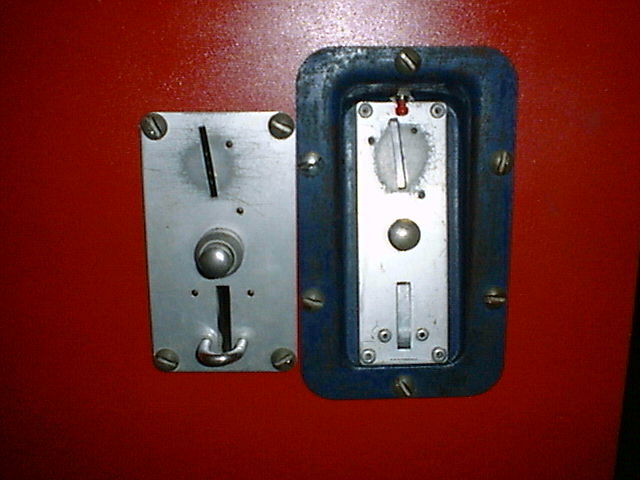 You can just see the semi-concealed switch up the top of the right-hand coin slot. You can also see I closed up the bottom coin-return slot of the right mechanism too, since it's not used. You can just see the semi-concealed switch up the top of the right-hand coin slot. You can also see I closed up the bottom coin-return slot of the right mechanism too, since it's not used. |
|
Step 10: Engage the shields! Having those two dirty great big magnets down the bottom of the case caused some problems. I put them as far away from the monitor as I could, but it still wasn't far enough. When the sound gets loud enough, the monitor still becomes distorted and changes pretty colours :) I'm sure they don't do the drives in the computer much good either. I needed some metal to shield them, and thought since I'm not using the cover of the computer case, I could use that. Using at hacksaw, I cut it in halves down the center. This gave me 2 L shaped pieces of metal, nearly perfect for shielding around the 2 speakers. | |
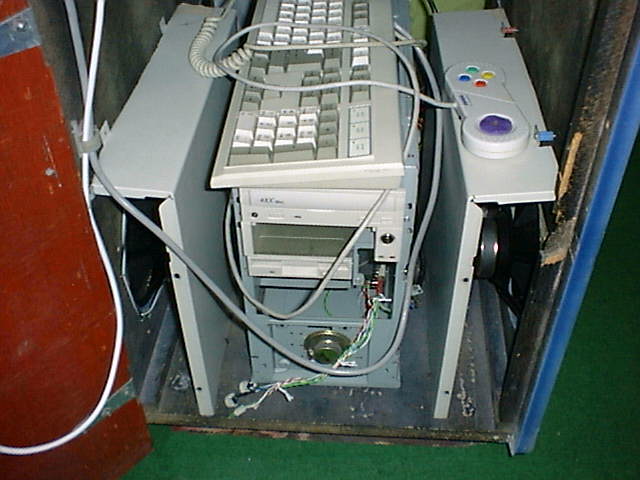 You can see how the 2 speaker shields fit in here. You can see how the 2 speaker shields fit in here.The keyboard sits nicely on top of the case, and the dark grey cable you can see hanging down is the new cable from the keyboard to arcade controls. |
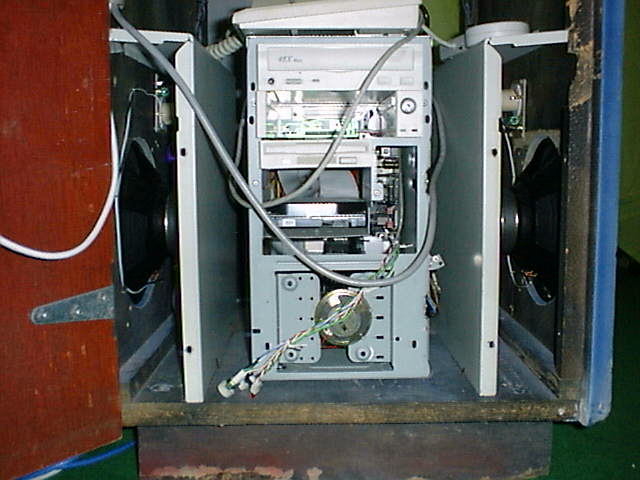 Shot from the front. You can see there's still a fair amount of space for air circulation around everything. Also, attached to the right hand side of the case, you can just see the power switch for the AT power supply. You turn that on, and it powers the monitor and the amp. It's earthed against the metal computer case. Shot from the front. You can see there's still a fair amount of space for air circulation around everything. Also, attached to the right hand side of the case, you can just see the power switch for the AT power supply. You turn that on, and it powers the monitor and the amp. It's earthed against the metal computer case. |