|
Step 11: Cosmetics After enough mucking about with the hardcore gear to actually make the machine work, it's time to make it look a bit prettier. Since both the front and back doors still had holes in them (from where the original locks were) I decided the best way to plug the holes (and keep the doors shut at the same time) was to put working locks back in! I bought some, and surprisingly, they came with keys! so I now can keep the arcade machine all locked up, so no-one can steal the vast numbers of 20 cent pieces that will accumulate inside it. I didn't do a very good job of spray-painting the edges of the wood either, and to stop it from being damaged more, I wanted to put some type of edging on it to protect it. | |
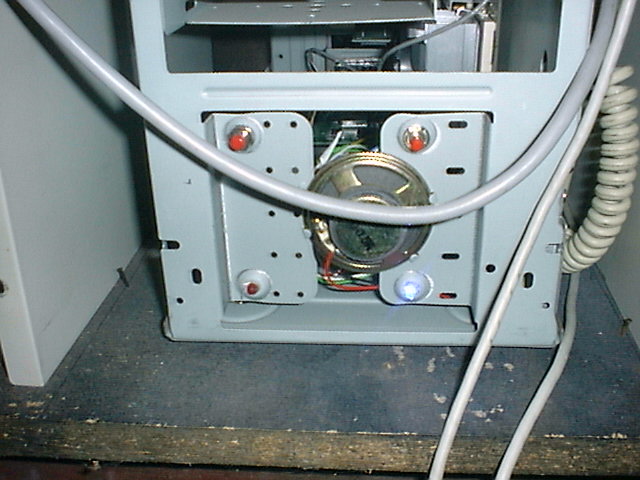 I also got sick of the ATX power/reset switches, HD and Power LEDs all hanging out of the front of the computers on wires as in previous photos, so I mounted them into the front of the case. Top left switch is reset, top right is power. I also got sick of the ATX power/reset switches, HD and Power LEDs all hanging out of the front of the computers on wires as in previous photos, so I mounted them into the front of the case. Top left switch is reset, top right is power. |
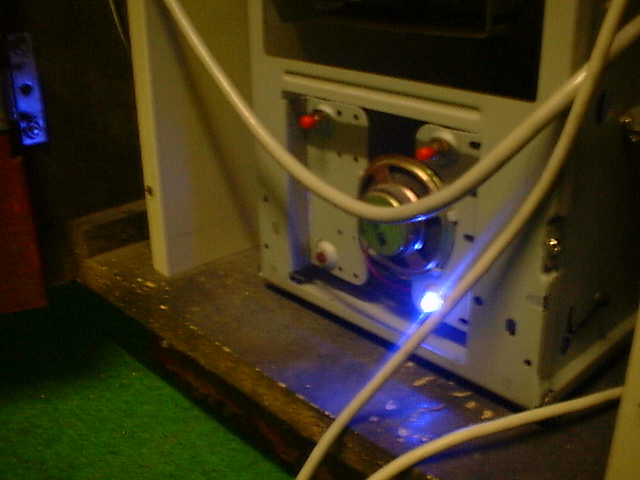 I happened to have a ultra-bright blue led lying around, so I thought I'd whack it in as the Power led. I happened to have a ultra-bright blue led lying around, so I thought I'd whack it in as the Power led.Blue is much more interesting than green. |
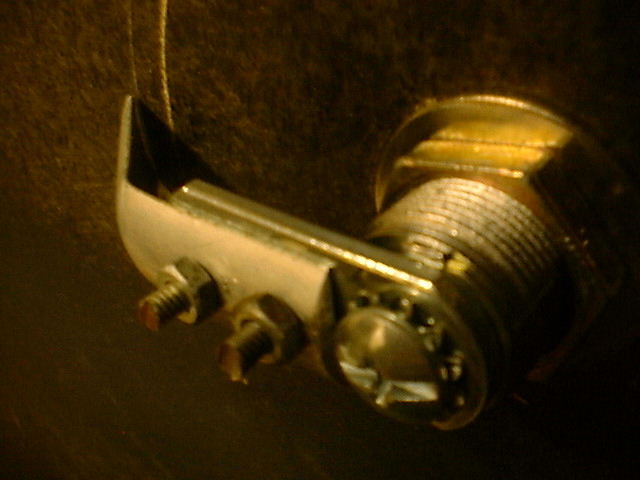
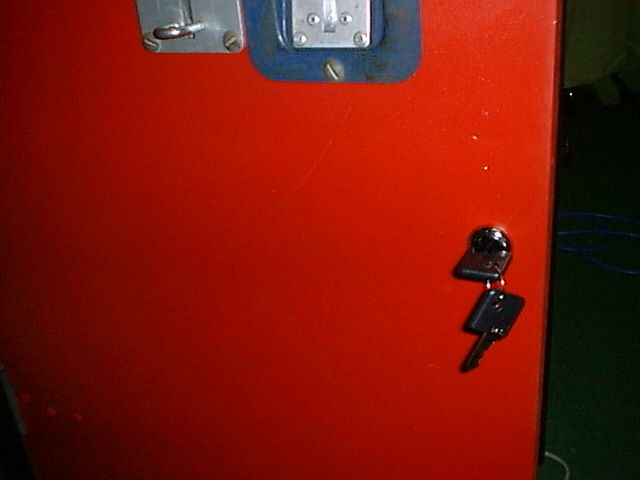 These are called Cam locks, and were about $6 each. The front has a hole to put the key in, strangely enough. These are called Cam locks, and were about $6 each. The front has a hole to put the key in, strangely enough. |
 And the back has a latch that enables the lock to serve its purpose: to lock things. And the back has a latch that enables the lock to serve its purpose: to lock things. |
 Unfortunately I couldn't get locks with paired keys, so I have 2 different keys to open the front and back doors. Unfortunately I couldn't get locks with paired keys, so I have 2 different keys to open the front and back doors. |
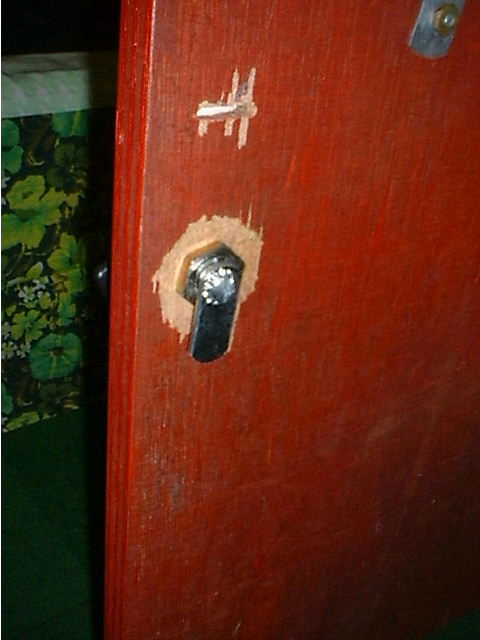
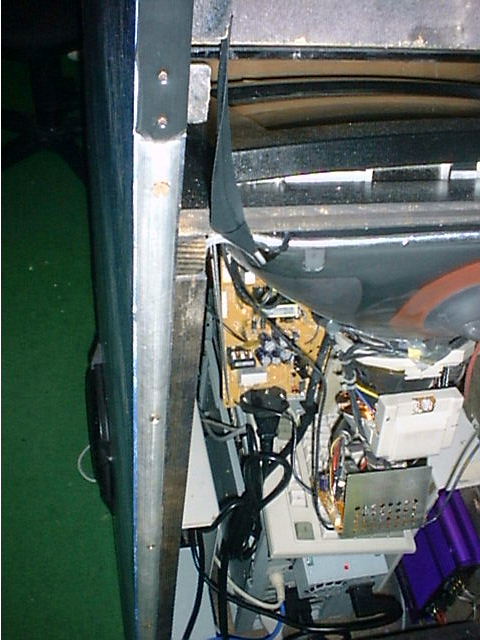
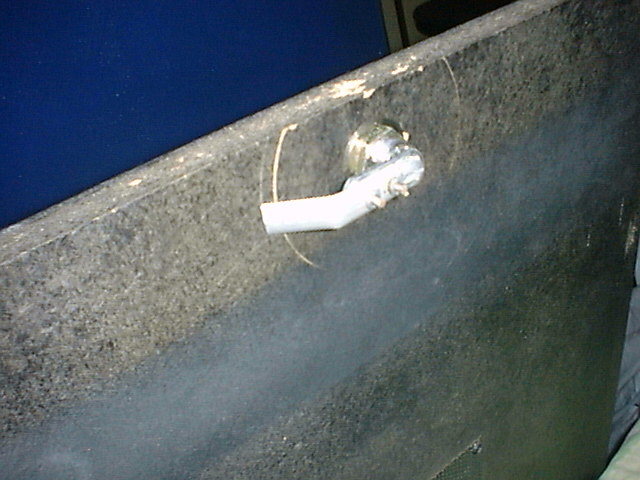 The latch on the lock didn't work on the back door. It wasn't long enough, nor at the right angle to actually latch against anything in particular inside. This was a problem I pondered over for quite a while. The latch on the lock didn't work on the back door. It wasn't long enough, nor at the right angle to actually latch against anything in particular inside. This was a problem I pondered over for quite a while. |
 I then decided to just bolt some more metal onto it. AUGMENTATION! This proved a bit more difficult than I expected, since I broke 3 drill bits in the process. I suppose I really should have been using bits designed for metal, not ones designed for wood. I got it together in the end as you can see. I then decided to just bolt some more metal onto it. AUGMENTATION! This proved a bit more difficult than I expected, since I broke 3 drill bits in the process. I suppose I really should have been using bits designed for metal, not ones designed for wood. I got it together in the end as you can see. |
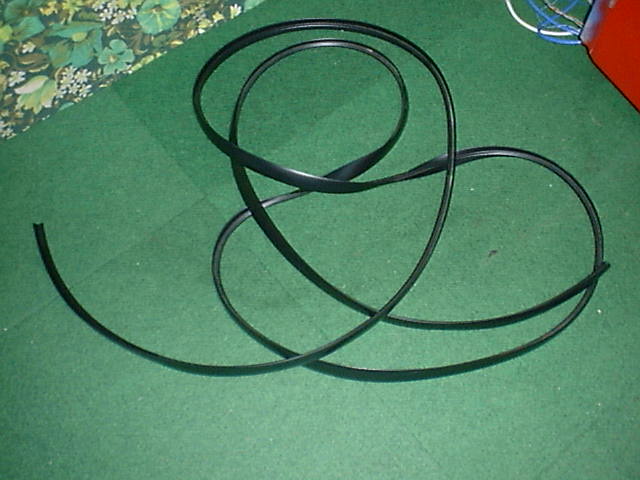 This piece of plastic was one of the hardest items to find for the entire arcade machine. It's that plasticy-rubber stuff that goes around the edges of desks like in primary school. You'd think hardware store's would sell it.... no. You'd think furniture stores would sell it..... no. You'd think plasticy-rubber stores woulds sell it... but not them either. After half a day of driving, I eventually found some in a very non-retail cabinet making factory. Everyone was on lunch break except for one young guy. He sold me a few metres of it for $5 - which he promptly pocketed for himself. This piece of plastic was one of the hardest items to find for the entire arcade machine. It's that plasticy-rubber stuff that goes around the edges of desks like in primary school. You'd think hardware store's would sell it.... no. You'd think furniture stores would sell it..... no. You'd think plasticy-rubber stores woulds sell it... but not them either. After half a day of driving, I eventually found some in a very non-retail cabinet making factory. Everyone was on lunch break except for one young guy. He sold me a few metres of it for $5 - which he promptly pocketed for himself. |
 It was meant to slot into a groove in the wood, so I just sliced off the groovy-pokey-bit (Cutting open my thumb in the process :( It was meant to slot into a groove in the wood, so I just sliced off the groovy-pokey-bit (Cutting open my thumb in the process :(I then used hot-melt glue to stick it onto the edge of the wood, and put a wall-panel nail in every few centremeters just to make sure it stayed on (Hotmelt glue has endless uses, but only the ones you don't want to stay together forever actually do) |
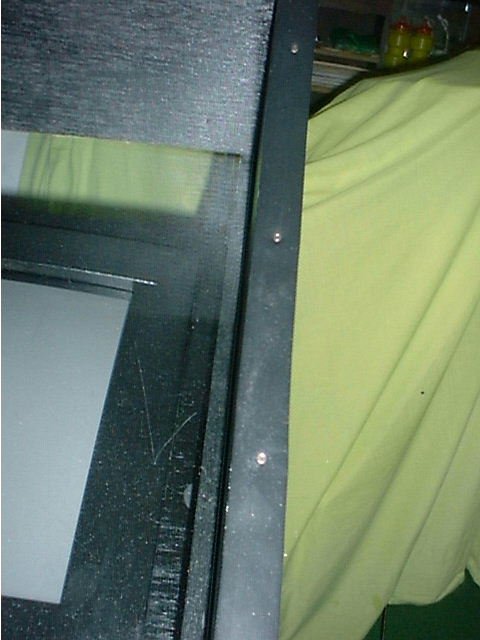
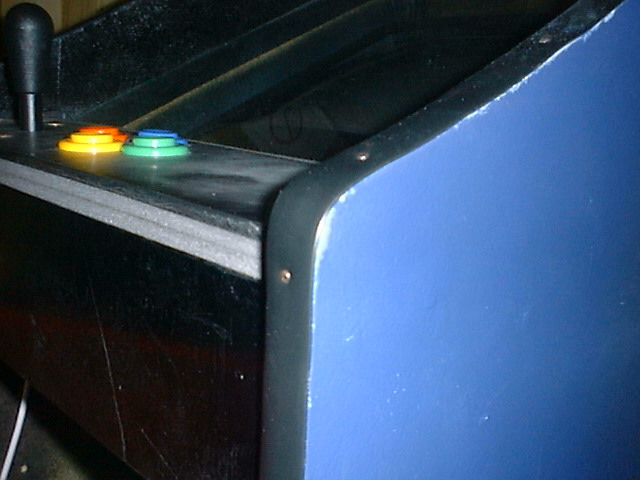 It went around the corner quite nicely and looks quite professional. It went around the corner quite nicely and looks quite professional.Hrrm... I think that shiney stuff is the hotmelt glue.... hrrrm, perhaps not quite professional :) |
 I somehow managed to mis-measure how much plasticy-rubber stuff I needed, and came up nearly 2 metres short. bugger. Originally it had aluminium rails on the back, so I decided to just put some new ones on. I somehow managed to mis-measure how much plasticy-rubber stuff I needed, and came up nearly 2 metres short. bugger. Originally it had aluminium rails on the back, so I decided to just put some new ones on. |
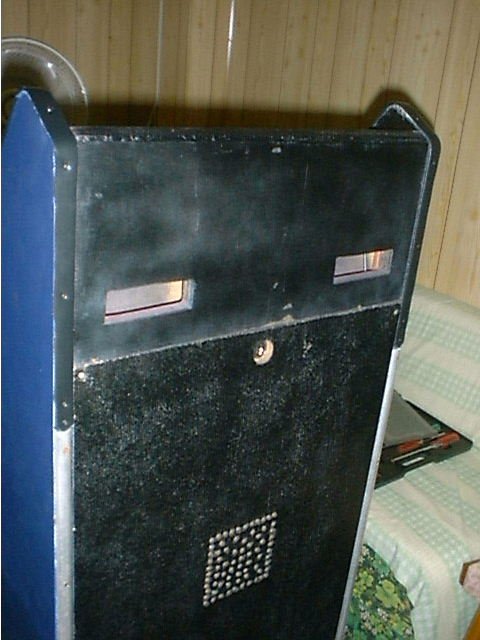 It's a semi-circular piece of aluminium strip that is screwed into the back of the wood, and goes all the way down and around the bottom (where the wood is falling apart) It's a semi-circular piece of aluminium strip that is screwed into the back of the wood, and goes all the way down and around the bottom (where the wood is falling apart) |
|
Step 12: Touchy touchy I found a mouse to be very impractical to use on the arcade machine. You could use it on the monitor-glass, but then you couldn't actually see what you were trying to click on. I thought a touchpad would be a good idea. Big f*ck-off shiney touchpads. Mice for show, touchpads for a pro. sorry, got carried away The touchpad can be used for some of the arcade games (in place of a gun or rollerball etc) and in Windows, when it's in Jukebox mode. Stay tuned.... | |